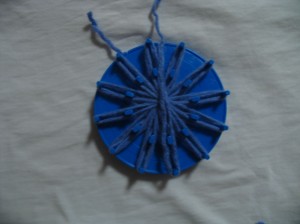
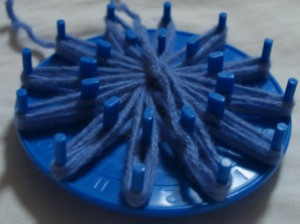
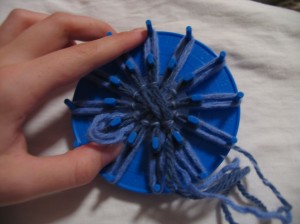
This is a tutorial on how to make Yarn Flowers. On my loom you can make them in one or two layers, and if you do two layers you can also do two different colors. If you are only doing one layer you can do a large or small yarn flower. There are many different types of looms and also several different ways of finishing them. This tutorial is for a round loom and a very basic method of finishing off the yarn flowers. You can enlarge any of the pictures by clicking on them. To make yarn flowers you will need:

Not all looms are just like this one.
1 flower loom
1+ ball of yarn (Limp yarn does not work very well because it does not hold the shape of the flower. Acrylic yarn usually works.)
Scissors
1 Tapestry needle
To start, hold the loom and the tail of the yarn in your left (right for lefties) hand with the yarn draped over the loom like this (don’t worry about the inner pegs yet, just focus on the outer ones):

Then wrap the yarn around the next peg to the right, and bring it back where it started.

Now bring the yarn under the peg directly to the left like this:

And now you go to the top again…

And continue wrapping like this:

Until it looks something like this (this has been wrapped so there are three layers on each peg):


Now you can either stop there with one layer, or use the smaller pegs in the center to make a second layer. If you want to do two layers continue reading right here, if you only want one layer skip down to just past the dotted line.
Working the second layer is exactly the same as the first, just on the smaller pegs. Start with the yarn draped over the center and wrap the peg directly to the right of the yarn at the top, make sure you start with the tail at the bottom of the loom.


Continue working in the same way as you did for the first layer until it looks like this (each of my small pegs have two wraps):

_ _ _ _ _ _ _ _ _ _ _ _ _ _ _ _ _ _ _ _ _ _ _ _ _ _ _ _ _ _ _ _ _ _ _ _ _ _ _ _ _ _ _ _ _ _ _ _ _ _ _ _ _ _ _ _
How to finish:
Thread the color yarn of your choice and secure it to the tapestry needle. Now push the needle up between two petals of your flower as close to the center as possible like this:


Now we are going to move counter-clockwise and push it down between the next two petals to the right like this:

Then move the needle under the loom two spaces to the left (this should be one space to the left of where you first came up through the loom) and push through to the top.

Now wrap the yarn over the petals directly to the right, and push the needle down through the loom like this:

Continue wrapping the petals in this way, moving two spaces to the left underneath the loom, pushing the needle up, and wrapping the petals on the right. To make sure your yarn flower stays secure, wrap each petal section at least two times each. When you are done it should look like this:

Now just slip the yarn flower off the flower loom.

And use the tapestry needle to secure all of the loose strands of yarn to the back of the flower. Your finished yarn flower should look something like this:

I will try to get some better pictures the next time that I make one. Sorry for doing blue yarn on a blue loom, I forgot to turn my brain battery on! 😉

One Response to How To Make Yarn Flowers